
You found Astro.build and you want to give it a try. Maybe this is for a fun personal project, creating a site for a friend, or even for an internal business application. Whatever the reason, you want to give this a go but you’re not familiar with Git, Node.js, NPM, VS Code, YAML, and Azure Static Web Apps.
Let’s first focus on getting your local Windows desktop ready to go with some installations and getting to your first Astro site!
Table of Contents
- Installation
- Create your first Astro site
- Open your Astro site in Visual Studio Code
- Start your Astro site
- Conclusion
Installation
While this isn’t the minimalist or only way to get where we’re going, I’ve found it to be the best path for newbies.
I’ll provide a little guidance on the actual installation process, but I will provide links to any additional documentation. For the most part, accept the defaults.
The links and guidance are based on a Windows 11 environment and all command lines provided will be based on Microsoft PowerShell 7
Visual Studio Code
It’s free, a great text editor, awesome extensions for Astro and way more.
Download and install Visual Studio Code
Git for Windows
Git is a source-control management (SCM) system used mostly in software development, but it’s found its way into DevOps, system engineering, AI, and way more. Anyway, you’re going to use this in the future when we save our code into GitHub which will then deploy to Azure. But let’s not get ahead of ourselves
Download and install Git for Windows
Let’s take one additional step after you’ve installed Git for Windows of configuring who you are. If you don’t do this, your first save into GitHub will generate an error from your local Git installation saying it needs what we’re about to do.
Run the following commands in PowerShell and replace the values to reflect your name and email address.
git config --global user.name "Your Name"git config --global user.email "youremail@yourdomain.com"Node.js
Node.js is an application runtime for javascript. We need this for two things:
- Package Manager: NPM is a utility to install and build applications. This includes Astro and it’s community of extensions.
- Runtime: We’ll use NPM with Node.js to run a local instance of your Astro site
The version of Node.js to install is always important to keep track of. In our case with Astro, you want to ensure the latest version of Astro supports the version of Node.js that you plan to install.
The following is current based on the date of this post for Astro: Node.js - v18.17.1 or v20.3.0 or higher. ( v19 is not supported.)
Find the latest supported versions on the Astro installation documentation
Close Up or Reboot
You’ve installed a few things and it’s always a good idea to close up all the windows and reboot your computer.
This will ensure that all the installations are properly registered and ready to go.
At the very least, close all your PowerShell windows and Visual Studio Code before going to the next step.
Create your first Astro site
Now that you have everything installed, let’s create your first Astro site.
If you’re using a cloud file sync like OneDrive or DropBox, I recommend NOT creating your Astro site in those folders. This is because the Astro site will have a lot of files and folders that will be constantly changing. This can cause the sync to be constantly running and slow down your computer. It’s also going to compete with Git which will be saving your code to GitHub.
For now, let’s create a folder on your hard drive. I’ll use the following path as an example: C:\AstroSites\
Open PowerShell and run the following commands to create a new folder and change to that directory.
mkdir C:\AstroSitescd C:\AstroSitesNow that you’re in the directory, run the following command to create your first Astro site.
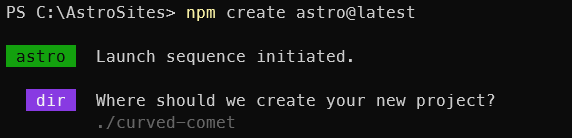
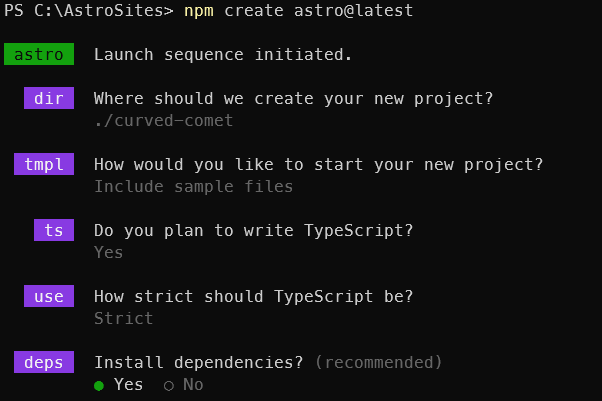
npm create astro@latestWhen you do this, the Astro installer will ask you a few questions. For the most part, you can accept the defaults.
When asked, “Where should we create your new project?” you can hit enter to accept the suggeted folder name. or change it to something else.
In the following example, hitting enter will create a folder name “curved-comet” in the C:\AstroSites\ directory.
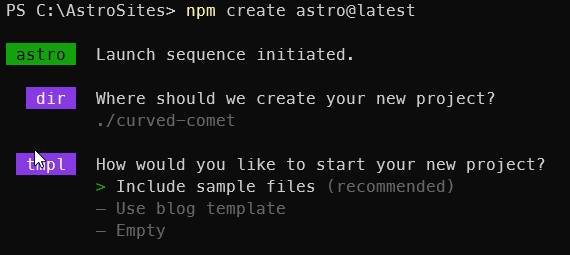
Continuing on, we’ll select “Include sample files (recommended)” and hit enter. This is just a quick way to get some sample files to see how Astro works.
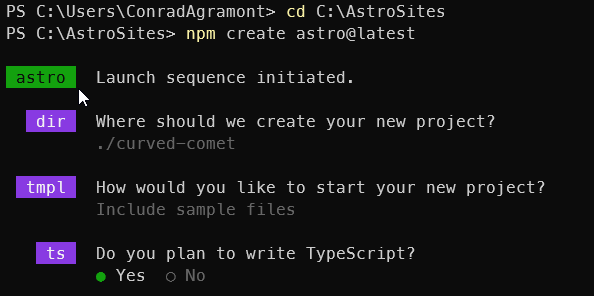
You may not know what TypeScript is yet, but it’s a superset of JavaScript. It’s a good thing to learn, but for now, let’s just hit enter to accept the default.
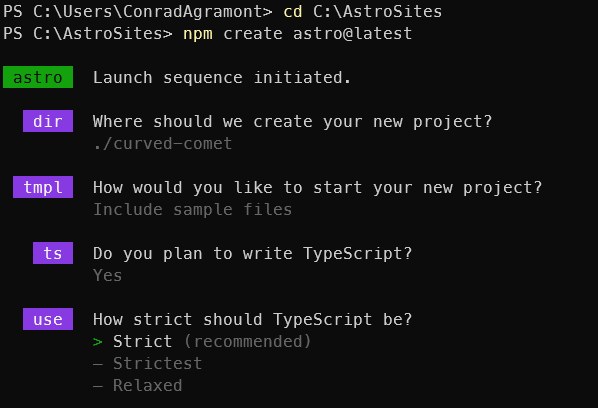
For “How strict should TypeScript be?” you can hit enter to accept the default.
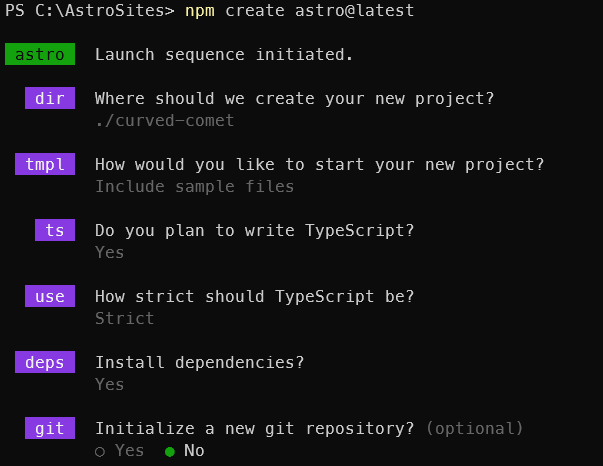
There aren’t many dependencies to install, so it should be quick. Let’s accept the defaults and hit enter.
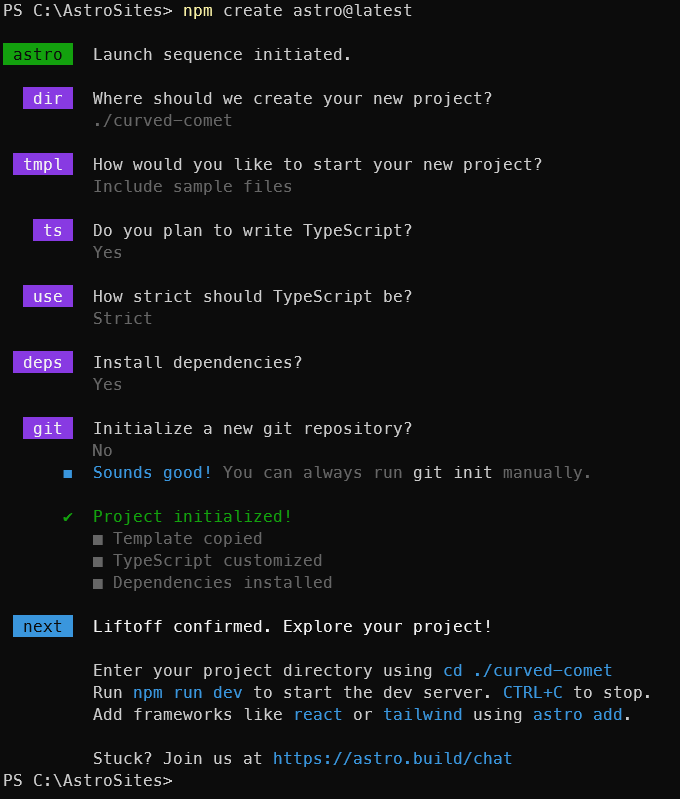
For now, we’re not going to actually push this into GitHub. We’ll do that in a future post. So let’s select “No” for “Initialize a new git repository” and hit enter.
Now you’ll see some magic happening as the Astro installer creates your site.

When it’s done, you’ll be presented with a message that your Astro site is ready to go.
Open your Astro site in Visual Studio Code
Now that you have your Astro site created, let’s open it up in Visual Studio Code.
In PowerShell, run the following command to open Visual Studio Code in the directory of your Astro site.
cd .\curved-comet\code .This will open Visual Studio Code in the directory of your Astro site. You’ll see all the files and folders that were created.
Start your Astro site
Now that you have your Astro site created, let’s start it up.
Since we’re already in the directory of your Astro site, run the following command in PowerShell to start your Astro site.
npm run devThis will start your Astro site and you’ll see a message in PowerShell that it’s running.
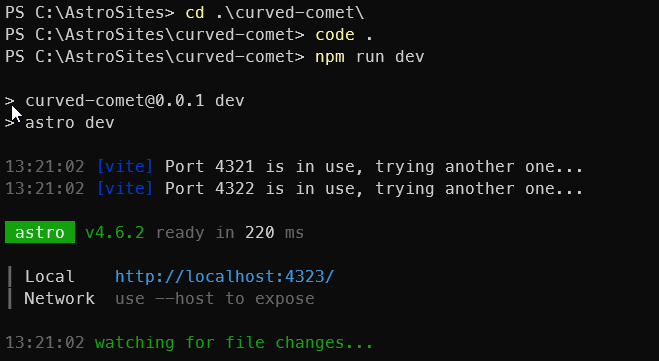
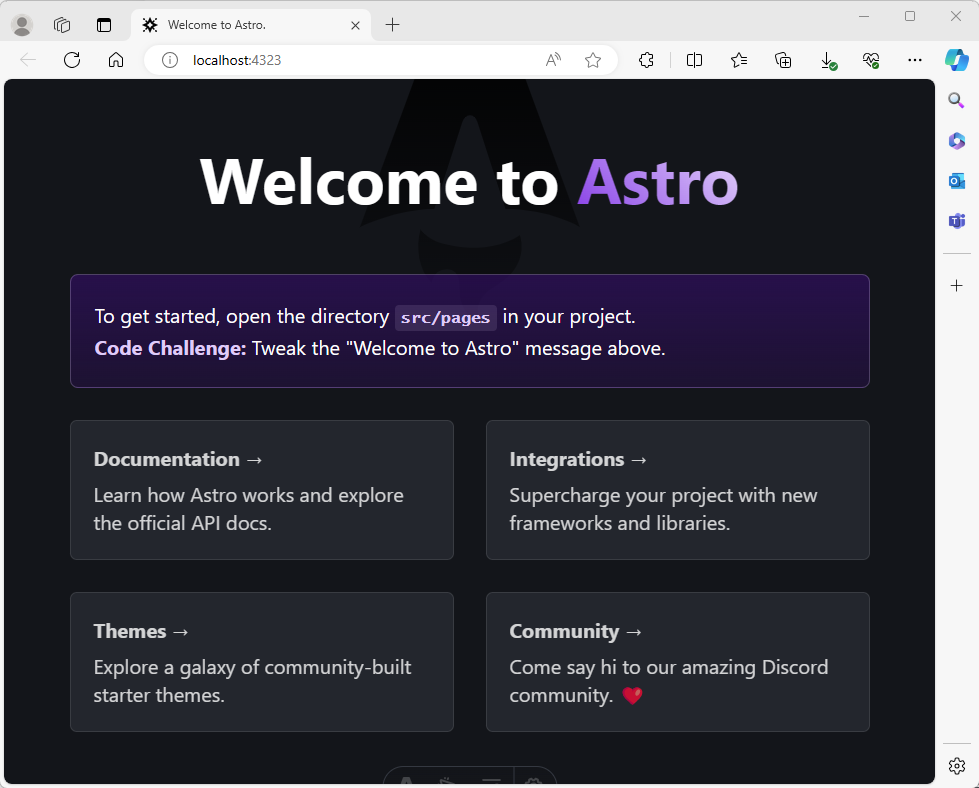
Open your browser and go to http://localhost:4321 to see your Astro site (update the port number based on what you see on your screen).
Conclusion
You’ve installed Visual Studio Code, Git for Windows, Node.js, and created your first Astro site.
You’ve also opened your Astro site in Visual Studio Code and started it up.
Astro is a great way to build a site and you’re on your way to creating something awesome! The documentation is pretty good and the community is very helpful.
You can find the documentation for Astro at Astro.build and the community at Astro Community